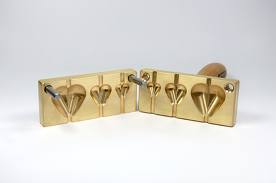
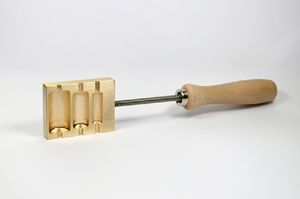
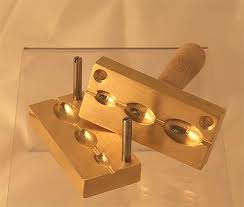
Bead Presses
Bead Presses use powders to form punder pressure solids shapes. Capping beads is a simpler process because the shape of the hole is not as critical. The hole in the cap is critical and should not be too large. The tricky part about capping and riveting beads is how much tubing to use. Too little and you will not be able to set the rivet. If you use too much there will be excess silver that you will not be able to get the silver rivet to lay flat on the cap. Determining the proper length is a trial and error process but it did not take me long to figure it out.
Capping and riveting beads is a two step process, flaring the tubing and then setting the rivet. The press is very good for flaring tubing and I have used up to 1/2" inch tubing with no problems. The press has an anvil, the bottom piece with the low angle cone (Fig. #2) This cone makes sure that the tubing is aligned with the die. The die is the top piece and does all of the work and can flare tubing up to 3/16 outside diameter. Watch the top piece when flaring the tubing and making sure that the ends of the flared tubing are symmetrical.
Process
- Cut tubing to proper length about 1/16 for each side of bead in addition to the width of the bead. Be sure to de burr the tubing before riveting. If the tubing splits when riveting it was cut too long. I buy my tubing from Rio grand and Metaliferous.
- Place tubing between the die and anvil in the press and pull down on the lever until the top die flares the tubing. Make sure it flares it enough so that the caps or bead to be riveted will not fall off of the flared end.
- Put bead or caps and bead on tubing with the flared end down back in the press. Repeat Step #2. Make sure both ends are flared evenly by placing the smaller end of the rivet pointing up in the press and pulling the lever making it larger.
- Stop when the tubing starts to get tight. If you keep pressing the bead will chip or break.
Conclusion
The tubing (rivet) is flared and it is ready to be set. What I mean by setting the rivet is that the silver tubing needs to be pounded down onto the caps or bead. This tightens the rivet so that the caps and tubing will not spin. Also it makes a nicer transition between the rivet and the bead, this will take some practice. You have to hit the rivet hard enough to get the silver to bend over and lay flat on the bead or cap. Too hard and the bead will be damaged, this is where the length of tubing comes into play. The right amount of tubing will be pretty easy to pound over but too much or too little is a real challenge. The thinner tubing it seems to be easier to bend over. Also going back over the ends of the rivet and polishing them will soften some of the sharp edges. Using small hammers and supporting the bottom of the rivet when pounding on the top seems to set the rivet nicely.
This is a process that will take some time and effort to master. Not only with flaring the rivet and setting it but also in making the correct shape of bead.
Video


