Measurement of Roundness
Measurement of Roundness is very essential in metrology. It includes measurement of a collection of points.
Methods
For this two fundamental methods are followed:
Intrinsic datum method
The round object is place over a flat plate and the point of contact is taken as the datum point. Again a dial gauge is placed over the round object and the object is rotated keeping the datum at constant position. Thus the error in roundness can be directly known by comparing the peak height as measured by the dial gauge.Alternatively a V shaped base can be used instead of a flat plate. Here will be two datum points will exist instead of one because of obvious reason that our base is V-shaped. The error in roundness can be measured similar to the previous method.Also a cylindrical body can be clamped between two axle centres. Here also the dial gauge is mounted over the cylindrical body and thus the roundness is measured by similar procedure as above.
Extrinsic datum method
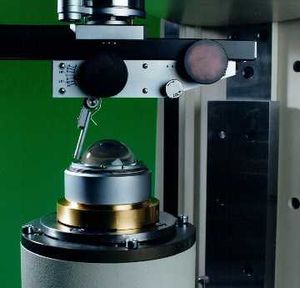
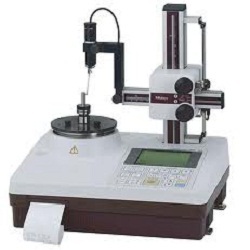
The intrinsic method is limited to small deformations only. For large deformations extrinsic method has to be followed.In this case the datum is not a point or set of points on the object, but is a separate precision bearing usually on the measuring instrument. The axis of the object or part of the object to be measured is aligned with the axis of the bearing. Then a stylus from the instrument is just made to touch the part to be measured. A touch sensor connected to the tip of the stylus makes sure that the stylus just touches the object. A minimum of three readings are taken and an amplified polar plot is drawn to get the required error.

